
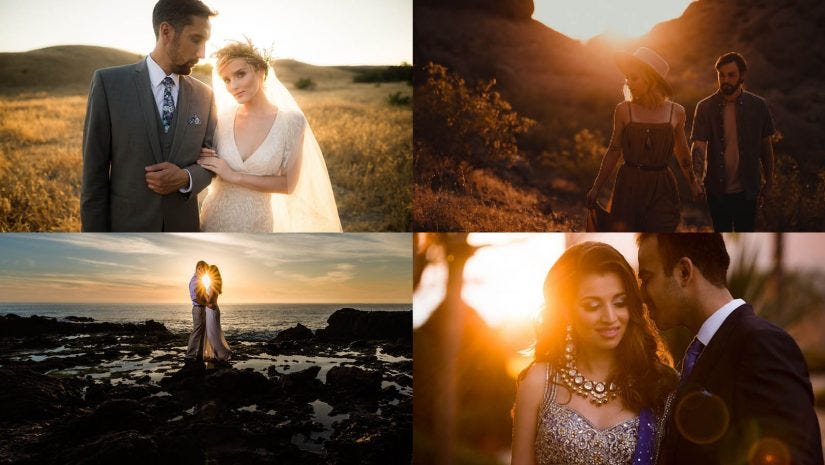
A food photographer's job requires creativity and a keen eye for detail. They must portray the food in the best possible light and ensure that the image matches the brand. They need to be quick and meticulous in order to capture the best moments. Photographers should also have the ability to handle multiple tasks at one time.
Costs of hiring a food photographer
Prices for hiring food photographers vary depending on where they are being hired and the length of the shoot. New York City averages a two-hour photography shoot for $508, and a four hours shoot for $889. These numbers are higher that the US national average. Similar averages are seen in other locations and categories, including food, hospitality, and restaurants. Some agencies sell packages that can be customized based upon the length of the shoot.
Before you talk about numbers, be sure to clarify your requirements. Ask the food photographer to include four main categories in their estimate. To get an accurate cost estimate, go through each category. Creative fee - This fee is charged by the photographer for performing the work.
Fees - The costs of hiring a food photographer will vary depending on the type of shoot and the experience of the photographer. A few photographers will charge only $300 for one or two photographs, while others may charge up to $500 for a professional set-up and assistants. Also, you will need to specify how many photos you wish to have taken, what format you prefer, and how much editing you desire.
Requirements for becoming a food photographer
Food photographers need to be able to see the details in order to create appealing shots. You might use different dishes and props. They may even work with a model to make the shots look even more delicious. Contrary to wildlife photographers, which rely on natural sunlight, food photographers often use props.
Food photographers need to know more than just how to set up and use light to take pictures. They also need to be familiar with the food industry. Many of these photographers begin their careers in the culinary arts. Anyone can become an accomplished food photographer by putting in the effort and practicing. Understanding the many aspects of the restaurant industry can make food photographers a valuable asset to other businesses. However, the requirements for becoming a food photographer are also very specific.
To become a food photography professional, you must have a bachelor's in photography or another related field. A lot of food photographers have some experience in the field. However, it's highly recommended that you earn a bachelors degree if you are interested in becoming a food photography professional. Additionally, food photographers need to be dedicated and detail-oriented. They should be able to work with clients to achieve their deadlines.
Salary range
There are many different salaries for food photographers depending on their experience and ability to set up their equipment. While some may charge by the hour, others might agree to pay a fixed amount for the entire project. Their earnings can vary depending on the work they do. They could earn between $40,270 and $82,000 annually.
Although food photographers work in their own right, others work for restaurants and food companies. They need to be able to show different foods in a way that is appealing. They must also have strong photography skills, which is an added benefit. Food photographers can find it very challenging so they may decide to become freelancers or self-employed.
The average Food Photography salary is $31,878 per year, with the top earners earning up to $101,500 a year. This salary range may vary slightly depending on where you live and how much experience you have.
FAQ
What Lenses Should I Use
The most common question beginners ask is, "what lens should I buy?" This is a difficult decision because there are so many options.
The good news? You don’t have to purchase a completely new lens for every new camera you buy. You can instead add lenses later.
Here are three types you might be interested in.
-
Wide Angle Lens (14mm - 24mm): These lenses give you a wide angle of view, allowing you to capture more of your subject. You can zoom in, but not lose image quality.
-
Normal/Standard zoom lens (28mm -70mm). These lenses allow the user to adjust focal lengths while still maintaining good image quality.
-
Telephoto Zoom Lens (70mm, 200mm): These lenses work well for distant subjects. These lenses allow you to focus on your subject, even though they may appear small in the frame.
These lenses can be combined in a variety of ways to create new effects. You can use a normal lens for close-up detail and switch to a zoom lens to capture distant objects.
How can my phone improve my photo skills?
Great photos don't require expensive equipment! Amazing images can be captured with a smartphone.
You just have to know how to use all its features and learn some basic techniques.
There are many apps available for both Android and iOS devices that make it easy to edit and share your pictures.
If you want to start taking better photos, here are five tips to help you get started.
-
Set Up Your Camera App. Your camera app should come pre-installed on your device. If it is not installed, you can download it from Google Play.
-
Use Effects & Filters. You can change the look of your photo with filters and effects without even touching it.
-
Adjust the Exposure. Adjusting the exposure can help you control the brightness in your picture.
-
Use the Right Lighting It is easier to see details when you shoot in bright light. If you shoot in low light, it is possible to capture shadows or highlights in your photo.
-
Take Pictures of People. Take pictures of people to show them what you love the most.
To learn more about how to take better photos, check out our article: 5 Tips To Improve Your Photography Skills On A Smartphone.
Is digital photography hard?
Digital photography isn't as simple as you might think. It takes time and effort to learn how to use the tools properly. You must know the right settings for different types shots. It is best to practice what you have learned. Practice makes perfect.
What makes a good camera bag?
Choosing a camera bag is important because it protects your gear while traveling. These are some important things to keep in mind as you choose a bag.
-
The bag should be large enough to comfortably hold your accessories and cameras. Don't purchase more than you are going to use.
-
Durability: You should look for bags made from durable materials, such as canvas, nylon, leather, and polyester. Avoid using plastic bags or fabric bags.
-
Protection: Make sure your bag protects against dust, dirt and moisture.
-
Organization: You can organize your gear by category to make it easier for you to find the right thing. You could, for example, place your lenses in one area, your memory card in another and your battery charge in yet another.
-
Comfort: A shoulder strap is a better choice than a handbag for shooting. Look for comfortable designs with padded straps.
-
Price: Shop around to find the best price. Many brands offer their products at discounted prices. This can be a huge advantage.
-
Warranty: Ask if the company offers a warranty on its products. You will know who to call if your bag gets damaged.
What camera should I get?
It all depends on your goals and what type of photographer you are. If you're just getting started, a basic point and click camera will suffice.
However, once the basics are mastered, it's likely that you will want more advanced features. It really is up to you what you prefer.
These are some important things to think about before you purchase a new camera.
-
Features: Which features are most important? Do you plan to use manual settings, autofocus, or both? What number of megapixels has your camera? Is there a lookfinder?
-
Price: How much are you willing and able to spend on your camera? Are you looking to replace your camera every few years?
-
Brand: Do you feel satisfied with the brand you choose? There is no reason to settle for less than the very best.
-
Functionality: Can your camera operate in low light conditions well? Do you have the ability to take high-resolution pictures?
-
Image Quality: How clear are your images and how sharp are they?
-
Battery Life: How long does your camera last between charges.
-
Accessories: Are you able to attach additional lenses or flashes? ?
Should I start photography as a hobby?
Photographing is a great way to preserve memories and share them among friends and family. You can also learn about the world around your camera.
If you are interested in learning how to take better pictures, there are plenty of resources available online to help you do just that.
It may be worth looking into classes at community colleges and art schools. You can meet other photographers and get valuable feedback about your work.
What equipment is necessary to begin digital photography
You should first consider what kind of camera you want when you begin digital photography. There are many choices: DSLRs (digital single lens reflex camera), point-and shoot compact cameras and camcorders. Each has its own benefits and features. For example, DSLR cameras offer high-quality images but are typically larger and heavier than other types of cameras. Point-and-shoot cameras tend to be smaller and lighter, and may have automatic settings for specific situations. Camcorders are capable of recording excellent video quality and can also be used to take still photos. Smartphones are lightweight, portable, and light. They offer excellent image quality, advanced features, such as GPS mapping, music playingback, and Internet browsing.
Once you've decided on the type of camera you'd like to buy, you will need to decide whether you would rather buy a used or new one. You can find affordable used cameras, particularly if you bought them in the last few years. New models generally cost more because manufacturers spend large amounts of money developing new technology.
Next, you'll need to buy lenses. Your photographs' quality will depend on the lenses you choose. They allow you to control the lens's focal length, allowing you to zoom into the scene without losing focus. Some lenses can be equipped with flash units that are built-in, while others may require external flash units. There are many brands offering a variety of lenses. Each brand has their own distinctive characteristics.
Finally, you need to purchase memory cards. Memory cards can store pictures that were taken with your digital camera. Depending on the size of your card, it could hold hundreds or even thousands of pictures. If you plan to shoot lots of pictures, you will need multiple memory cards.
Statistics
- The second easiest way to get blurry photos 100% of the time is to use a cheap filter on the front of your lens. (photographylife.com)
- In this case, 100% of readers who voted found the article helpful, earning it our reader-approved status. (wikihow.com)
- By March 2014, about 3 million were purchased monthly, about 30 percent of the peak sales total. (en.wikipedia.org)
- This article received 13 testimonials, and 100% of readers who voted found it helpful, earning it our reader-approved status. (wikihow.com)
External Links
How To
How to take photographs in low lighting conditions
Low-light photography means taking photos in dimly lit areas. It requires special equipment. Controlling exposure, white balance, sharpness, and contrast are the main challenges. Two types of low-light photography exist: ambient or flash. Flash photography works well when there is sufficient light around you. But if there isn't enough natural light, then you'll have to use a flash. For example, if your subject is indoors but outside, there might not be enough light to capture a good picture without a flash. If you don't want to use a flash, try shooting at night during the moonlit hours. You'll be able to capture beautiful colors and shadows this way. Another option is to shoot during twilight. Twilight is the time when the sun has set and there's still daylight.
You may also want to experiment with long exposures. Long exposures enable you to take images even after your shutter has been open for several seconds. The camera records only light that falls on it if the shutter is not closed. This light will continue to fall onto your sensor after a long exposure. Because the shutter was closed, no new light enters your lens. This means that you will not see any movement. You can ensure clear images by turning off automatic settings such as autofocus or autoexposure. Before you begin shooting, adjust your ISO setting. An ISO setting of 200 gives you more flexibility to control how bright or dark your image looks. Next, click quickly on the shutter button to capture the shot. This will bring the shutter completely to a close. You should then hold down the shutter button for as long as possible. To prevent additional light entering the camera, hold the shutter button down. Once you have taken the image, wait for a few seconds before you release it. This allows the camera to process the image. While you wait, your photos will be displayed on your computer's screen. When you are happy with your photos, save them to the computer.