
Before you start using your point and shoot camera, it is important to understand how it works. This involves reading and understanding your manual. Understanding the menus and features of your camera is important. Watch video tutorials to learn how the camera works. RAW allows you to capture all the visual information, which gives you more control over the final images in post-processing.
Canon
Canon's line of point and shoot cameras offers many options for those looking to upgrade. These cameras offer a wide range of features. Make sure to choose one with the most important features. These cameras are simple to use and have almost automatic functions.
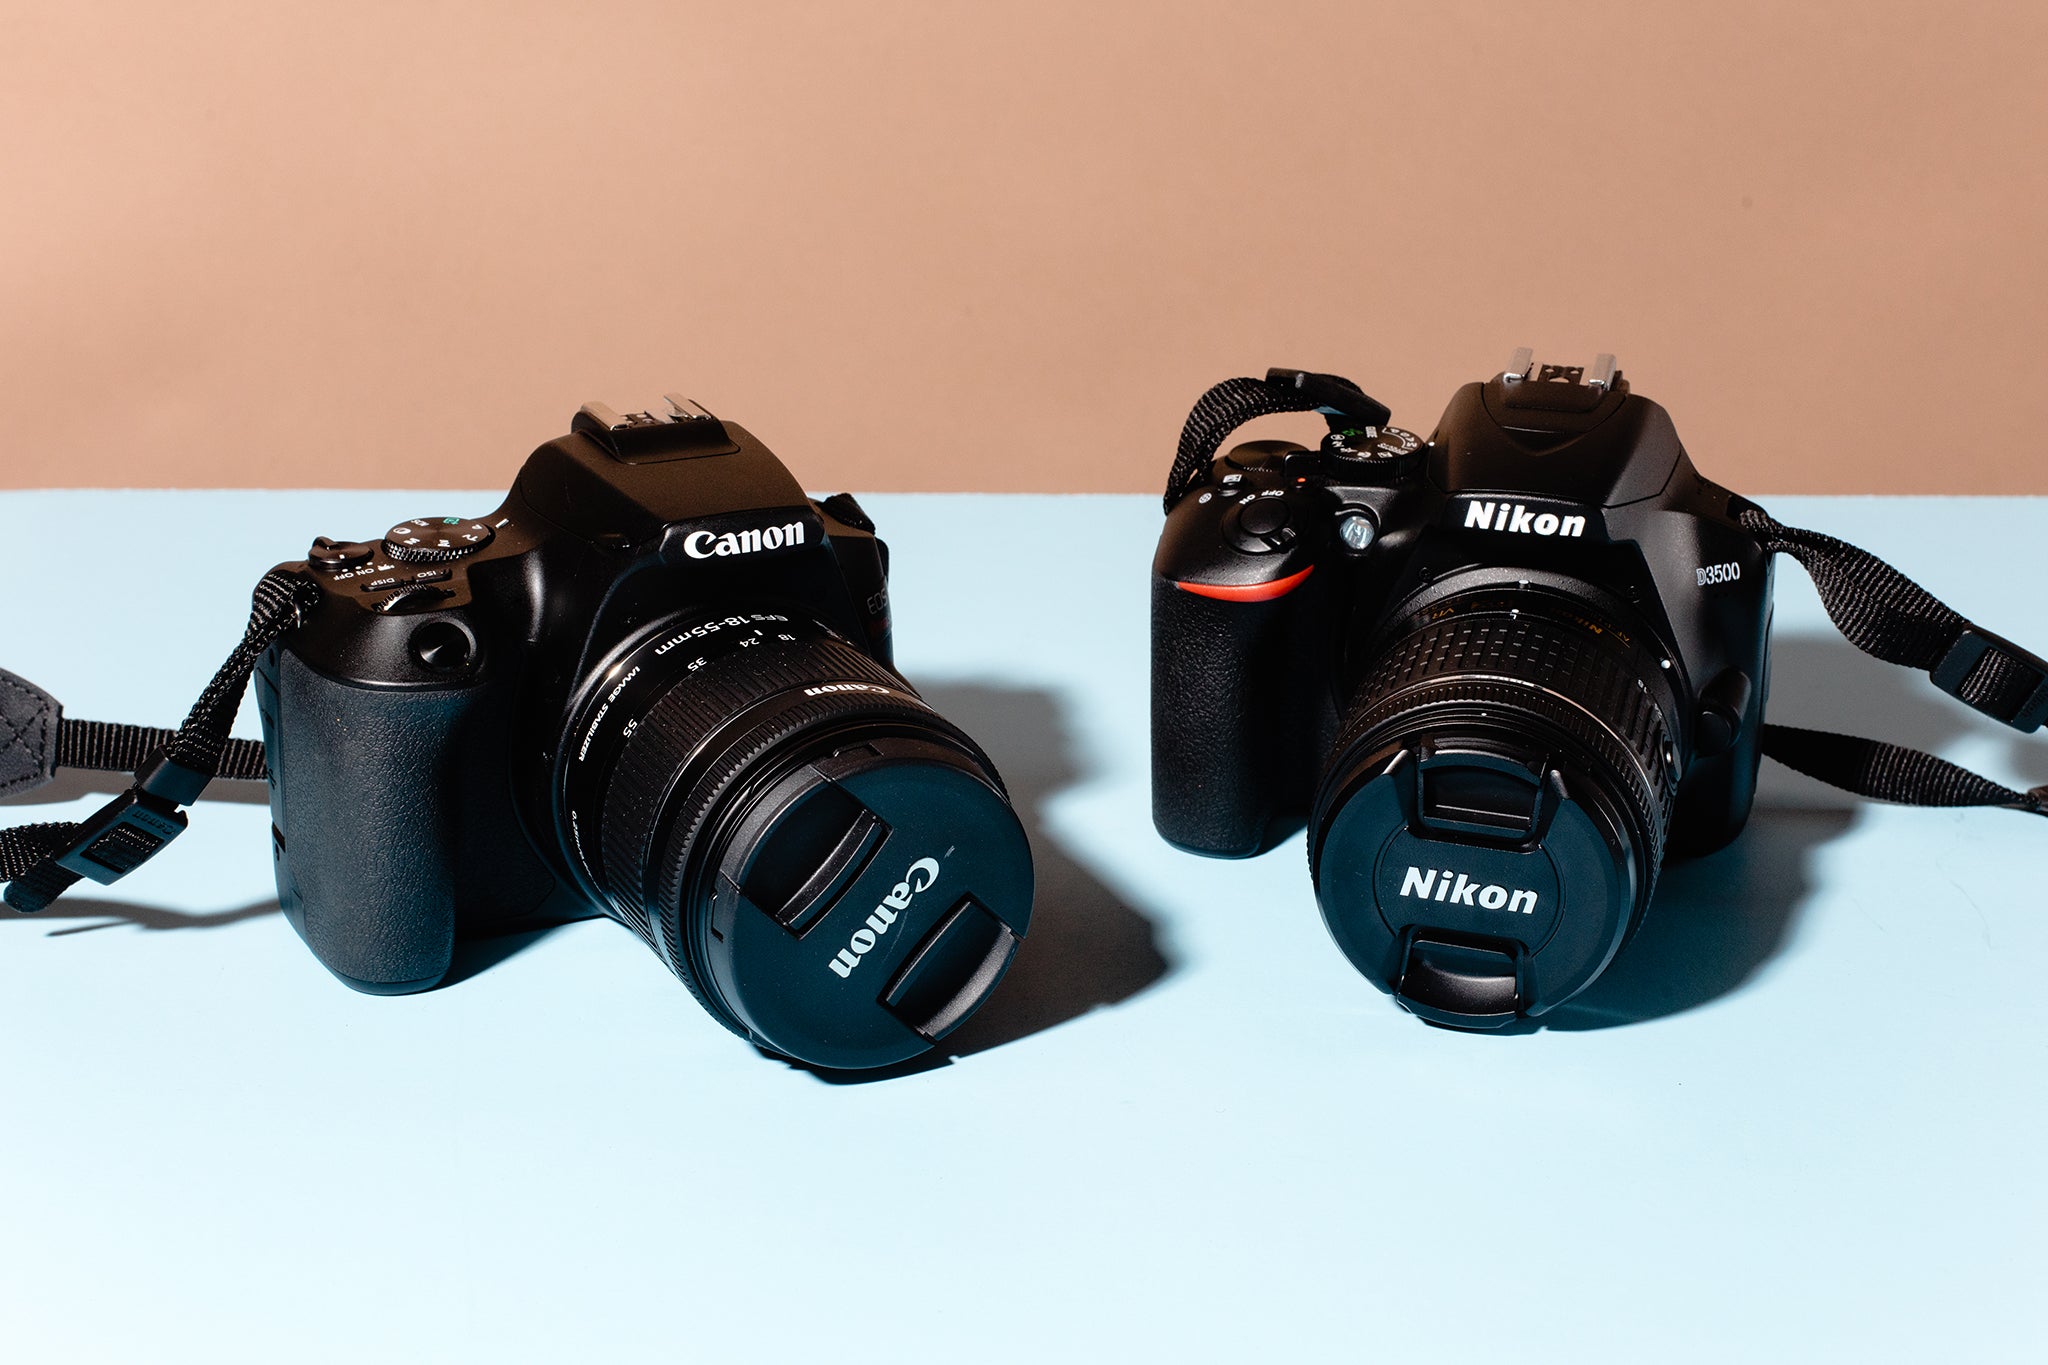
Nikon
There are some things to keep in mind if your first time shooting with a Nikon point and shoot camera. It's important to practice taking photos. To determine which settings work best for you, experiment with different compositions. When taking photos, you don't have to center your subject.
Olympus
Your Olympus point and shoot camera may be having problems. The LCD may be showing an error message. These errors usually relate to the camera’s memory card slot. In this case, the "card" and "cover" error messages are related to the camera's memory card slot.
Samsung
The new Samsung point-and-shoot camera can be used in many different ways. The interface of your camera can be used to alter the frame rate, video resolution and other settings. These settings are usually displayed on the camera's display screen. You might set the camera to start at the moment that someone jumps, and then end several seconds later.
Fuji
Fuji point-and shoot cameras are very simple to use. The OVF/EVF lever is included and the main controls can be operated with one hand. The retro-style dials make it easy to use the functions of the camera.

Sony
How to hold a Sony camera point and shoot is key. Many people hold their camera at arm's distance, which is not very stable. A better way to hold the camera is to tuck your elbows against your body. While it might feel uncomfortable at first this will make the camera more stable. You can also see the viewfinder and screen better.
FAQ
How do you get started in digital photography
First, you need to decide what type of camera is best for you when you first start digital photography. You have several options, including DSLRs (digital single lens reflex cameras), point-and-shoot compact cameras, camcorders, and smartphones. Each has its own benefits and features. DSLR cameras, for example, offer superior quality images but are heavier and larger than other types. Point-and-shoot cameras are smaller and lighter and often include automatic settings for certain situations. Camcorders provide excellent video recording capabilities and may also feature still photo shooting modes. Smartphones can be small and lightweight and are easy to transport.
Once you've chosen the type of camera that you want, you can decide whether to purchase a used or new model. Used cameras can be found at reasonable prices, especially if they were purchased within the last few years. Newer models usually cost more as manufacturers invest large amounts of money to develop new technology.
Next, you'll need to buy lenses. The quality of your photos is directly affected by the lens. They let you adjust the focal length to zoom in and out of the scene, without losing focus. Some lenses come with built-in flash units while others need external flash units. A wide range of lenses is available from various brands, each offering unique characteristics.
You will also need memory cards. Memory cards can store pictures that were taken with your digital camera. Your card's size will determine how many pictures it can store. Multiple memory cards will be required if your plan is to take lots of pictures.
Is photography a job that is rewarding?
Photography is an artistic form that allows one to capture and share moments in time. If you are willing to work hard, photography can be a great way for you to make money. There are many paths to professional photography. Start by taking photos for your friends and family as a hobby. This will improve your skills and increase confidence. After you've mastered this stage you can move onto paid assignments. The best photographers earn a living from their craft. They may take clients to events such as weddings and parties, where they must capture images of people enjoying themselves. Most professionals prefer to photograph commercial projects, such as product shots and advertisements.
It is important to know what kind of photography you like before you can become a professional photographer. Next, practice, experiment, try new techniques, until you feel comfortable with your technique. It is impossible to replace the experience of being in this position. Don't expect instant success.
It is important that you first learn technical skills in order to be able to focus on creativity. Photography involves both artistic and technical aspects. Learning to use the right tools and understand the basics of composition will help you succeed faster.
You should also consider whether you want to pursue a career in photography full-time or part-time. Some people combine their love of photography with other work. One example is working at a local magazine or newspaper while taking on freelance assignments. Others decide to dedicate all their free time to photography. Either way, it takes dedication and commitment to succeed in any creative field.
You will need to put in a lot of effort and time if you are serious about a career as a photographer. Think carefully about whether or not you are really ready to give your time and effort to this type of endeavor.
What is the rule for thirds in photography?
The rule-of-thirds is a simple way to create interesting compositions using no complicated camera settings. It divides your photo into nine equal parts horizontally as well vertically. This creates three main areas in which you want your subject. These are the top (3rd from the left), middle (3rd from center) and bottom (3rd from lower right). These areas are useful for positioning your subject in your frame.
The rule to thirds allows you to avoid placing important elements too closely together or too far apart. You might not have enough space between them for a strong visual impact if you put them close together. You might find that they lose focus if you place them too close together.
How can I learn photography on my own?
There are many ways you can learn to take great pictures. You could buy a book, attend a class, join an online community, watch YouTube tutorials, etc. There's no better way to learn the art of photography than by doing it yourself. So you can decide what goes into each picture. As long as you continue learning, you will always be improving.
One of the greatest things about digital photography, however, is the fact that you don’t need expensive equipment. All you need is an internet connected computer and a camera. All else is up to you.
Here are some tips to get your feet wet:
-
Familiarize yourself with the manual settings for your camera.
-
Learn how to use the controls.
-
Photograph lots.
-
You can edit them.
-
These are yours to share.
-
Keep practicing.
-
Experiment.
-
Consider different angles and perspectives.
-
Use light sources creatively.
-
Practice makes perfect.
-
Never be afraid to fail.
-
Be patient.
-
Have fun
Which Lenses Are Best?
Beginners often ask, "What lens should I purchase?" Because there are so many options, it can be difficult to choose.
You don't have to buy a brand new lens each time you purchase a new camera. You can always add lenses later.
Here are three types you might be interested in.
-
Wide Angle Lens (14mm to 24mm): These lenses allow you to see more of your subject from a wider angle. You can zoom in and not lose image quality.
-
Normal/Standard zoom lens (28mm -70mm). These lenses allow the user to adjust focal lengths while still maintaining good image quality.
-
Telephoto Zoom Lens (70mm–200mm) : These lenses are ideal for photographing distant subjects. These lenses allow you stay focused on your subject even when they appear small.
These lenses can be combined to create different effects. You can use a normal lens for close-up detail and switch to a zoom lens to capture distant objects.
How can I look great in photos?
It is best to take your own photos to ensure that you look good. Learn how to pose and what angles look best. You'll also learn lighting techniques and how to use props to enhance natural beauty.
You'll discover how to choose clothes that fit well, make-up that looks great on you, and hairstyles that suit your face shape and style.
We will also help you retouch your images using Photoshop or another editing software, if you are not satisfied with the results.
You can now take self-portraits.
Is photography a talent?
Photography isn't a talent, it's an art form that takes practice, training, as well as experience. It takes years of study and practice to become proficient at any aspect of the craft.
Photography is a business, and you should have a plan on how you're going to make it profitable.
This requires you to identify the type of client you are trying to attract and to find out how to reach them.
It is important to understand who your customers are and what their needs are. It is important to communicate clearly and convincingly with them in order to convince them to use your services.
This means that you will need to be well-organized and prepared when you meet potential clients.
When you are ready to approach potential customers, you will need to create a portfolio of your work. This can be done digitally through software programs or printed on to paper.
Once you have compiled a portfolio of work, you should start looking for opportunities to display it. You could approach businesses directly or post ads online.
Statistics
- There are people out there who will pick at flaws they can only see in 100% crops of your photos. (wikihow.com)
- This article received 13 testimonials, and 100% of readers who voted found it helpful, earning it our reader-approved status. (wikihow.com)
- In this case, 100% of readers who voted found the article helpful, earning it our reader-approved status. (wikihow.com)
- While I cannot prove that all of those spots were not sensor dust, the photo was taken during a heavy snowstorm…so I guess that 99.8% of the spots are snowflakes. (bhphotovideo.com)
External Links
How To
How to take photographs in low lighting conditions
Low-light Photography is when you take photos in dimly lit or dark environments. It requires special equipment. The main challenges are controlling exposure, white-balance, and sharpness. There are two types low-light photography: ambient and flash. Flash photography works best when there is enough lighting around. A flash is required if there isn’t enough light. Without a flash, it is possible to get a poor picture if the subject is indoors and not outdoors. You can also shoot at night when the moon is shining. You will get beautiful shadows and colors. Another option is to capture at twilight. Twilight occurs when there is still daylight but the sun has set.
Long exposures may be something you want to explore. Long exposures allow you to record images after the shutter has been open for several minutes. If the shutter is closed, the camera records only the light that falls onto the sensor. This light continues to fall onto a photo sensor throughout a prolonged exposure. The shutter is still closed so no light can enter the lens. You will see very little movement as a result. You can ensure clear images by turning off automatic settings such as autofocus or autoexposure. Before you begin shooting, adjust your ISO setting. An ISO setting of 200 will give you more control over the brightness or darkness of your image. Finally, when you're ready to take the shot, press the shutter button quickly. The shutter will close completely. Hold the shutter button down for the final second. By holding down the shutter button, you prevent additional light from entering the camera. Once you have taken the image, wait for a few seconds before you release it. This allows the camera time to process the photo. While your image processing is taking place, you will be able to view your photos on your screen. Once you are satisfied with the photos, save them onto your computer.