To take photographs, viewfinder cameras are most commonly used. The subject's image is reflected on ground glass. Then the lens illuminates film and takes the photo. The viewfinder goes dark when the photograph is taken. For most amateurs, this type of camera is ideal. Professional photographers, however, prefer a DSLR. The DSLR is an advanced digital camera that can track and focus on moving objects. A flip-down mirror can be attached to the top of the DSLR for easier composition. While it is not able to make movies, it can be used to compose pictures and view the images simultaneously. Also, the DSLR has a CCD or CCD sensor that is exposed only after the photo is taken.
One of the most important advancements in the early SLRs was through-lens light metering. A CdS Meter allows the photographer to choose the lens aperture, and the CdS Meter will automatically compensate. This enabled small apertures to be used to avoid darkening viewfinder images when photographing small objects.
Another important development was the introduction of the automatic diaphragm. The automatic diaphragm allowed photographers to snap photos without having to manually open and close it. Before this, the diaphragm needed to be manually opened after exposure. To create the photo, you had to open the diaphragm again by hand.
Another feature that was unique to early SLRs, the pellicle lens. This innovative design allowed the viewer the ability to see through their lens without opening the mirror. This was also a significant improvement in the design of SLR.
Another innovation was the introduction of a waist-level finder. The viewer was able to view the image from eye level. Unlike the earlier finders, the waist-level finder was designed to show the reversed image. Most photographers had to mentally adjust the finder when taking photographs.
During the 1940s, Italian camera maker Rectaflex was one of the first manufacturers to produce a pentaprism eye-level finder for 35mm SLR cameras. Rectaflex released its prototype in 1947. Production began in September 1948. The next year, Contax S was released, the second SLR to incorporate a pentaprism eye-level finder.
Rectaflex was the first SLR camera that had an instant-return reflector. This mirror reflected the image back to the ground glass, and allowed the camera to take the photo without having to manually return the mirror to its original position. Rectaflex was also first SLR with a focal plane shutter. This allowed the camera's focal plane shutter to be used with any lens.
The first Japanese SLRs appeared in the 1950s. The Asahiflex IIB, a 1954 SLR that included a black viewfinder, was one of these. Other manufacturers followed their lead.
FAQ
How can I make my photos look beautiful?
You can look great in photos if you take them yourself. Learn how to pose and what angles look best. Learn how to use lighting, props and other tools to enhance your natural beauty.
You'll discover how to choose clothes that fit well, make-up that looks great on you, and hairstyles that suit your face shape and style.
We'll also show you how to retouch images with Photoshop or other editing software if you aren't satisfied with the results.
You can now take self-portraits.
How can I become a professional photographer?
Photography is an art form that requires patience, dedication, passion and dedication. Passionate about photography will make you do better than if it was just for the money.
It is important to know how to properly use your camera. You need to be able to comprehend composition, lighting, exposure, depth-of-field, and other aspects of photography. Additionally, you should have a good grasp of Photoshop.
Photographing is not an easy task, but once you have mastered it, there is nothing more satisfying than creating images that capture moments that are lost in time.
You can learn more by reading books, taking classes, or participating in competitions if you are looking to improve your skills. This will give you experience and confidence that will help you improve. What equipment do I need?
It really all depends on what type of photography you enjoy. If you're interested in landscape photography, for example, you'll need a wide-angle lens.
If you are into portrait photography, you must invest in a telephoto lens.
When taking photos, a tripod is essential. It allows for you to sit back and compose your image without moving.
Camera bags are useful for carrying your memory cards and other accessories.
If you're using a compact camcorder, a flash device is essential.
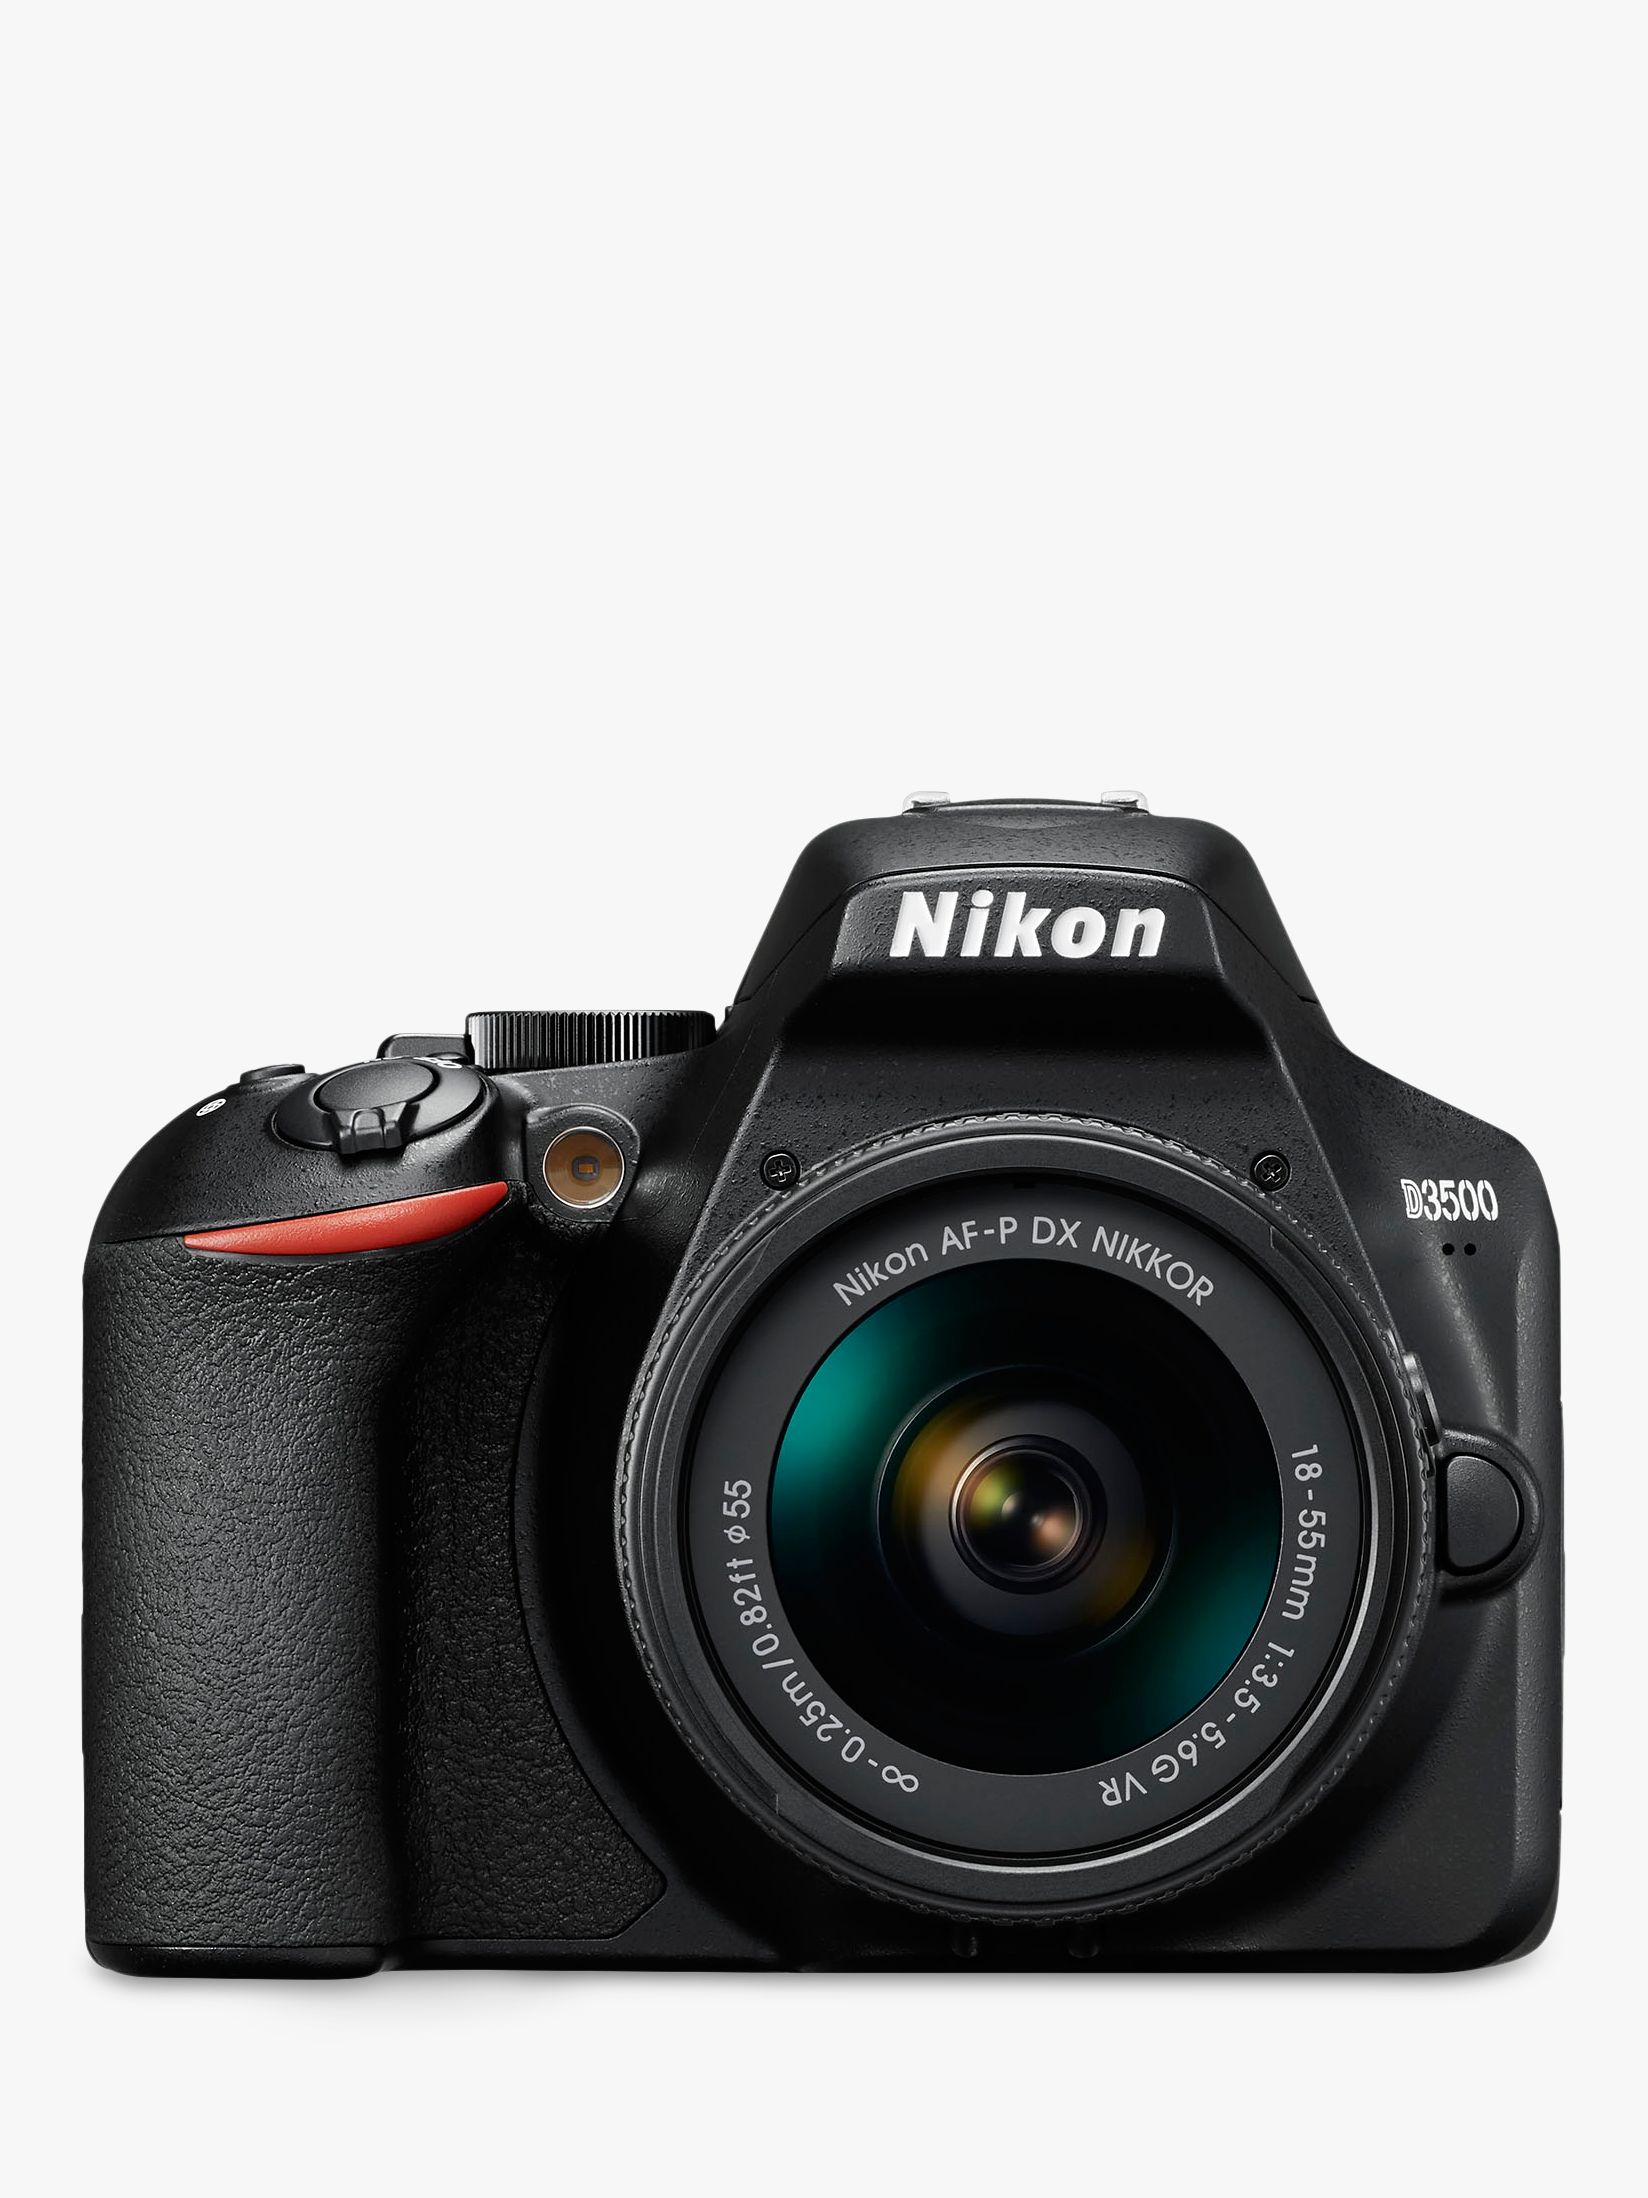
A DSLR (Digital Single Lens Reflex), camera is the best choice for novice photographers who wish to create professional-quality images.
DSLRs are highly popular for their ability to control every aspect of a photo, such as shutter speed and aperture, ISO sensitivity, white-balance, focus, and white balance. A variety of features are available such as autofocus and auto-exposure locks, bracketing, self-timer, and RAW formatting.
What makes an excellent camera bag?
A camera bag protects your gear and is essential when traveling. These are some important things to keep in mind as you choose a bag.
-
You should choose a large bag that can hold your accessories and camera comfortably. Don't go bigger than you think you will need.
-
Durability: You should look for bags made from durable materials, such as canvas, nylon, leather, and polyester. Avoid plastic and fabric bags.
-
Protection: Make your bag waterproof against dirt, moisture and scratches
-
Organization: Consider organizing your gear by type to easily access your needs. You could, for example, place your lenses in one area, your memory card in another and your battery charge in yet another.
-
Comfort: Keep your hands free when shooting by using a shoulder strap instead of a handbag. Comfortable designs with padded shoulders are also recommended.
-
Price: Shop around to find the best price. You may find some brands that sell their products at a discount price, which is a great bonus.
-
Warranty: Check to see if the company offers a limited warranty. This will allow you to know who to contact if your bag becomes damaged.
What equipment is required to start digital photography?
The first thing you should consider when starting out in digital photography is what type of camera you want to use. You have several options, including DSLRs (digital single lens reflex cameras), point-and-shoot compact cameras, camcorders, and smartphones. Each camera has different benefits and features. DSLR cameras are more expensive and weigh more than other types of cameras. Point-and shoot cameras are smaller, lighter and have more automatic settings. Camcorders provide excellent video recording capabilities and may also feature still photo shooting modes. Smartphones can be small and lightweight and are easy to transport.
Once you have made your decision on the camera type you wish to purchase, it is time to decide if you want to buy a used one or a brand new one. Used cameras can be found at reasonable prices, especially if they were purchased within the last few years. Newer models usually cost more as manufacturers invest large amounts of money to develop new technology.
Next, you will need lenses. Lenses play a key role in determining the quality of your photographs. They allow you to control the lens's focal length, allowing you to zoom into the scene without losing focus. Some lenses can be equipped with flash units that are built-in, while others may require external flash units. There are many brands offering a variety of lenses. Each brand has their own distinctive characteristics.
Finally, you'll need to buy memory cards. Memory cards store photos taken by your camera. The size of your memory card will depend on the number of images it holds. It could store hundreds of thousands or even millions of pictures. Multiple memory cards will be required if your plan is to take lots of pictures.
What Camera Should I Get
That all depends on what kind of photographer you want to become. A basic point-and-shoot camera is probably all you need if you're just starting out.
However, once you've mastered the basics, you'll likely want something more advanced. The decision is yours.
These are some considerations before you purchase a camera.
-
Features: What features will you require? Do you intend to use manual or autofocus settings? What number of megapixels has your camera? Is there one?
-
Price: How much money are you willing to spend? Are you going to buy a new camera every year?
-
Brand: Do you feel satisfied with the brand you choose? You shouldn't settle for less.
-
Functionality: Can your camera function well in low light conditions Are you capable of taking high-resolution photographs?
-
Image Quality: How clear are your images and how sharp are they?
-
Battery Life: How long does your camera last between charges.
-
Accessories: Are you able to attach additional lenses or flashes? ?
How can I improve the quality of my photos on my phone
Great photos don't require expensive equipment! Amazing images can be captured with a smartphone.
Just need to learn the basics of how to use it all.
There are many apps available for both Android and iOS devices that make it easy to edit and share your pictures.
These five tips will help you take better photos.
-
Set Up Your Camera App. Your camera application should be already installed on your device. If your camera app isn't installed on your device, download it from Google Play.
-
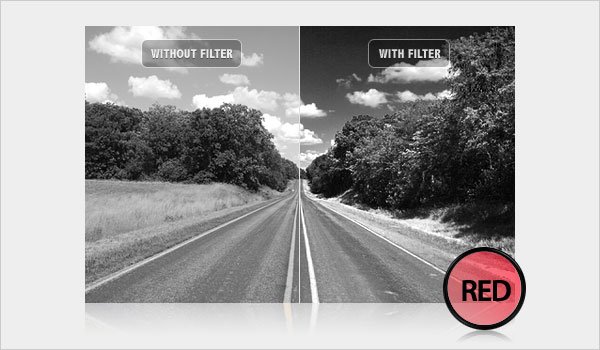
Use Filters & Effects. Filters and effects allow you to change the appearance of your photo without having to touch your image.
-
Adjust the Exposure. Adjusting exposure helps you control the brightness of your picture.
-
Make sure you are shooting in the right light. The brighter the light, the easier it is to see details. If you shoot in low light, it is possible to capture shadows or highlights in your photo.
-
Take Pictures Of People. Take pictures of people to show them what you love the most.
You can learn more about how to capture better photos by checking out our article, 5 Tips To Improve Your Photography Skills on a Smartphone
Is digital photography hard?
Digital photography isn’t as easy as you may think. To use digital photography properly, it takes patience and effort. You must know the right settings for different types shots. The best way to learn is by doing. Practice makes perfect.
Statistics
- This article received 13 testimonials, and 100% of readers who voted found it helpful, earning it our reader-approved status. (wikihow.com)
- That's the easiest way to get blurry photos 100% of the time. (photographylife.com)
- While I cannot prove that all of those spots were not sensor dust, the photo was taken during a heavy snowstorm…so I guess that 99.8% of the spots are snowflakes. (bhphotovideo.com)
- In this case, 100% of readers who voted found the article helpful, earning it our reader-approved status. (wikihow.com)
External Links
How To
How to use Lightroom in Photography
Adobe Lightroom is an excellent tool for photographers who need to quickly edit their photos. It lets you import images from multiple sources into one place, where they can all be viewed, edited and cropped. You can also share them online, print them, or email them.
Lightroom comes with editing tools that include cropping, adjusting brightness contrast, and colorbalancing. There are also presets available that can be used to create common effects such as vignette or lens distortion correction. The best part is that these changes are applied automatically when you export your image.
Adobe Bridge allows you to access Lightroom. This lets you view thumbnails and organize your files while browsing through your collection. You can even add keywords in your images to help you find them later.
Start with the free Lightroom version if you are new to Lightroom. This provides all the basics. You have two options if you wish to upgrade: either buy the full version or subscribe.
Lightroom is available in several formats. Adobe offers the option of purchasing the software directly. Another way is to download the trial version and convert it to a paid license. Here are the steps.
-
Lightroom Trial Version
-
Start the program. At the bottom, click "Convert license"
-
Enter your payment information and select the type license you wish (permanent, one year)
-
To finish the process click "Continue".
-
Once the trial version has been converted to a paid licence, you can continue using the license until the end.