There are several settings that you can use in your camera to improve your photos, whether you're shooting a quick snapshot or a vacation shot. The settings are: Aperture and Exposure compensation. These settings may differ depending on which camera you use, but they all are important to ensure the best possible results.
Shutter speed
Manual camera settings can be used to adjust both shutter speed as well as aperture. This is a great way for you to improve your photographic skills. This will allow to you to select the best settings for your subject and camera.
Shutter speed can be described as the shutter speed or the amount time the shutter is opened. This will vary depending upon the light level in the scene. A sharper image will result from a faster shutter speed. This will reduce the chance of overexposure.
A shutter speed is typically measured in fractions. The longer shutter speed means that more light can be absorbed by the camera. This is good for low light photography. It can also cause motion blur. A tripod is the best option to prevent blurred images.
Aperture
Affinity settings can make your photos sharper. A proper aperture is critical for clear shots in low light situations. There are several different modes to choose from, and it is a good idea to experiment with different settings to find out which is best for you.
Aperture Priority can be the fastest way to obtain a properly exposed picture. This mode will allow to you to select your shutter speed. The camera will then automatically select a suitable shutter speed. This mode is great for all kinds of photography, but it is especially useful when shooting wildlife or sports.
You will also be able to control your depth of field with Aperture Priority. This means that the background and frontground will be in focus. It is also useful in changing lighting situations.
White balance
Using manual camera settings for white balance is a great way to get the best color accuracy out of your images. You have many options to achieve this.
The white paper method is the first. This is an inexpensive and simple way to adjust your camera's white-balance. Simply hold a piece white paper up to the sensor of your camera. The white balance of your camera is set when the white card appears in the center circle. The white balance can be adjusted in your editing software or by moving the white paper in front of the source.
The second option uses either a neutral or mid-tone gray card. These cards are used to aid studio photographers in getting the best color accuracy.
Exposure compensation
When you're not ready to go full manual, exposure compensation is a great option. You can fix camera metering issues while still having enough time to take the shot. When you are finished, you can now focus on getting great expressions and reactions from your subjects.
To use the exposure compensate feature correctly, it is essential to understand its workings. You should also be able to recognize when you can use it. Exposure compensation can't be used if you plan to take a night photo with your camera.
You can check exposure compensation by looking at the histogram of your camera. This chart shows how the reflected sunlight is distributed across different color spectrums.
Bokeh effect
A manual camera setting can be used to create a Bokeh effect. This effect brings out the subject and adds depth to the image. It can also serve to frame the ground, foliage and other elements of the image.
A fast lens with a large aperture is the key to creating a Bokeh effect. Aperture is the amount light allowed to enter the camera. The wider the aperture, the more out of focus the background will be.
A photographer should stand as close to the subject of a photograph as possible when taking it. This allows for a more dramatic Bokeh effect. The closer the subject is, the less likely the background will be visible in the image.
FAQ
Is digital photography hard?
Digital photography can be difficult. To use digital photography properly, it takes patience and effort. It is important to be familiar with the settings that are best for each type of shot. Learning by doing is the best way to learn. Practice makes perfect.
Do I want to start taking photos as a hobby?
Photography is a great way of capturing memories and sharing them with loved ones. Photography allows you to see the world from a different perspective.
There are many resources online that will help you take better photos if you're interested in this topic.
It may be worth looking into classes at community colleges and art schools. This gives you the opportunity to meet other photographers, who can offer valuable feedback.
What equipment is required to start digital photography?
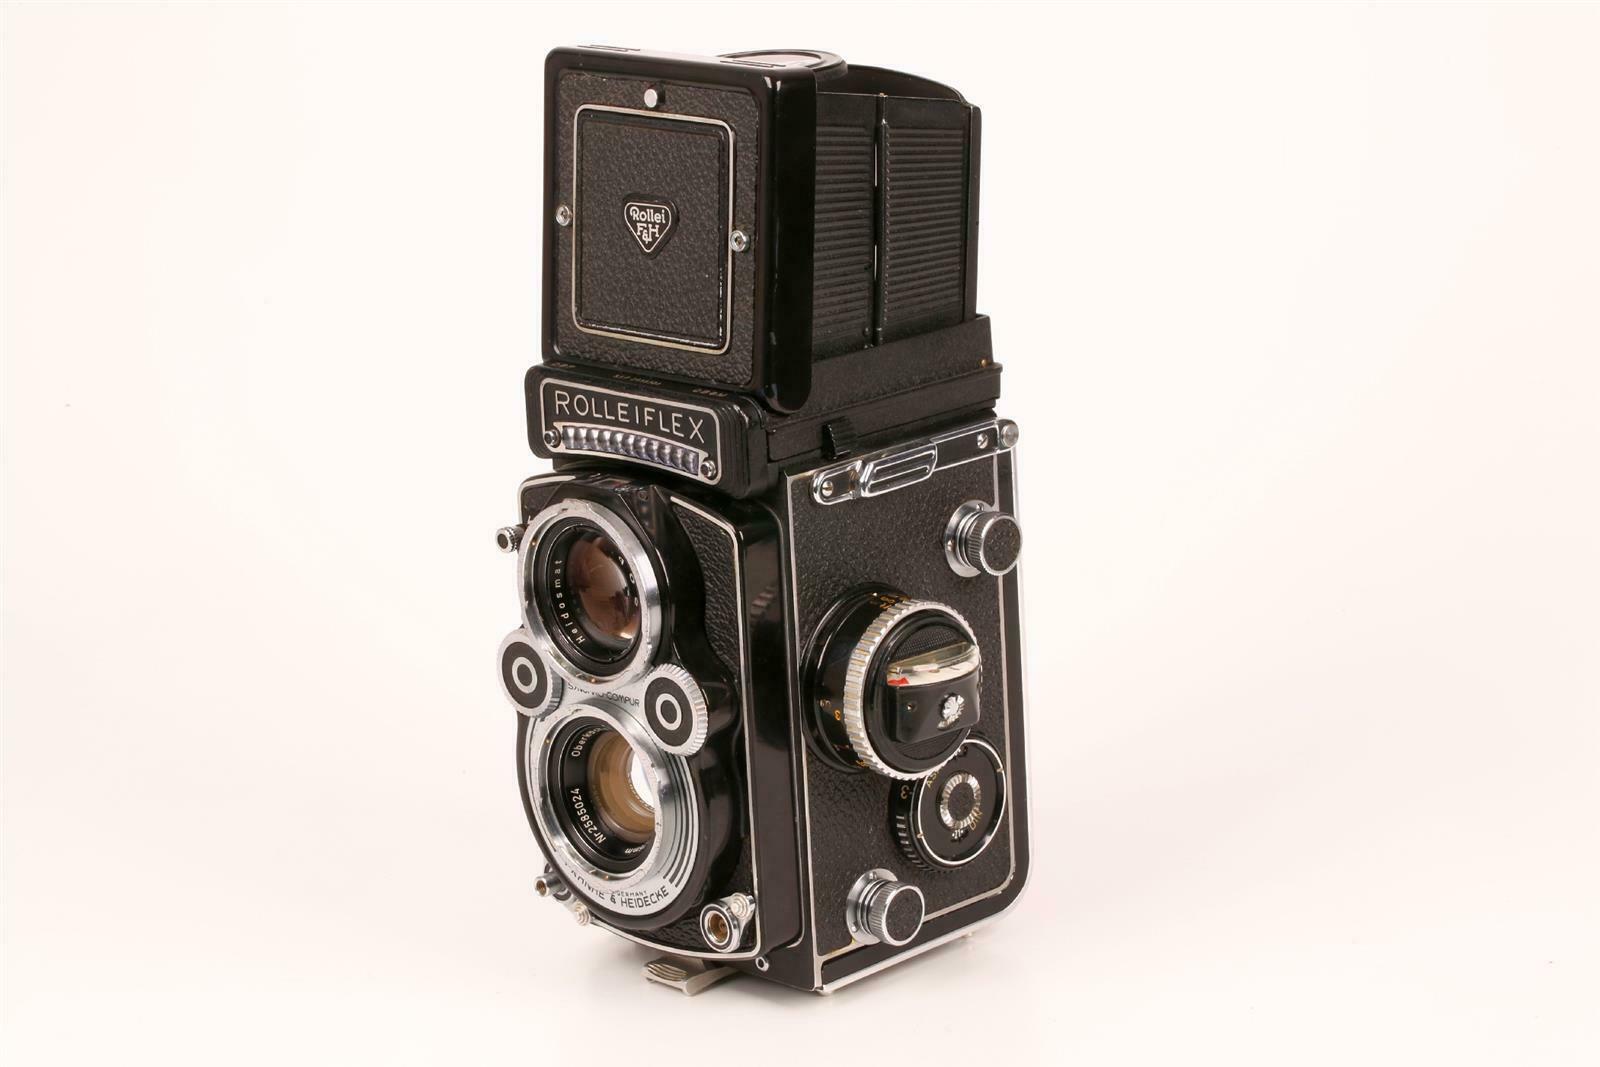
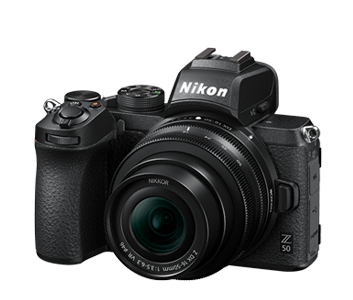
If you are just starting to get into digital photography, the most important thing is to choose which camera you would like. There are many options available, including DSLRs (digital single-lens reflex cameras), compact point-and-shoot cameras, camcorders and smartphones. Each has its own benefits and features. DSLR cameras, however, are larger and heavier than most other types of cameras. Point-and-shoot cameras are smaller and lighter and often include automatic settings for certain situations. Camcorders provide excellent video recording capabilities and may also feature still photo shooting modes. Smartphones are light and portable and can be carried around easily.
Once you've made a decision about the type and model of camera you want, then you must decide whether you want to buy it new or used. You can find affordable used cameras, particularly if you bought them in the last few years. Newer models usually cost more as manufacturers invest large amounts of money to develop new technology.
Next, you will need lenses. The quality of your photos is directly affected by the lens. They allow you to control the lens's focal length, allowing you to zoom into the scene without losing focus. Some lenses come with built-in flash units while others need external flash units. There are many brands that offer a wide variety of lenses, each with its own unique characteristics.
Finally, memory cards are something you should consider. Memory cards save pictures taken with your camera. Your card's size will determine how many pictures it can store. Multiple memory cards are required if you intend to take many pictures.
Statistics
- In this case, 100% of readers who voted found the article helpful, earning it our reader-approved status. (wikihow.com)
- This article received 13 testimonials, and 100% of readers who voted found it helpful, earning it our reader-approved status. (wikihow.com)
- Get 40% off Adobe Creative Cloud(opens in new tab) (creativebloq.com)
- By March 2014, about 3 million were purchased monthly, about 30 percent of the peak sales total. (en.wikipedia.org)
External Links
How To
How to take macro shots with photography
Macro photography can be defined as the ability of taking pictures at close range of small objects, such insects or flowers. Macro is a Greek term that means large. If your lens has a focal distance greater than 50mm you can photograph objects that are extremely close up.
A macro lens with a good working distance should be able to capture sharp images even when you are not moving too much. It is important to avoid motion while taking photos. Anything that moves during exposure may blur your image.
Here are some tips for taking great macro photographs:
-
Use a tripod. A tripod is a must if you don’t already have one. This will ensure that you have less movement while shooting.
-
Pick the right lighting. Most macro lenses come with built-in light filters, but if you don't have one already, buy one separately. This helps prevent overexposure.
-
Be patient! Shooting macros takes practice. It's not always easy to see the perfect macro, but it is worth trying until you do.
-
RAW file format allows you to shoot in it. RAW files have more data than JPEGs. They can store more detail. RAW files are best for editing later because you can make adjustments like cropping and color correction after the fact.
-
Do not forget to add the background. The background can be as important as the foreground. You should include it in any photo.
-
Keep learning.